MG chemi is making good products(unless it is a Chinese fake).
I guess you didn't use it properly.
The way I do it is wet the iron tip with a little solder and sometimes add flux to the wick if needed.
Look at this (mute )
video for how to.
So, were do we stand with the boards?
You didn't answer this question regarding your post #41:
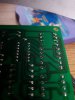
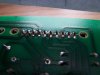
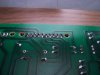
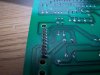
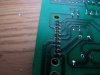
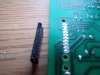
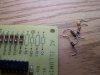
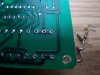
What components are on the other side?
Can you show on a pic?
What is written on the devices.

") The wick BTW would not begin to pick up solder. I had to go back to my trusty sucker. I used .075" fine braid super wick. MG chemicals. It is easier to work with a nice clean board. I guess I should have used solvent on the chair board before I began soldering on it. As I said, I have gotten better over the last few days. Watching the videos helped me chose a proper temperature setting for what I was doing and showed me what tips to use for which job. Also learned the importance of limiting the amount of eat to use.
The wick BTW would not begin to pick up solder. I had to go back to my trusty sucker. I used .075" fine braid super wick. MG chemicals. It is easier to work with a nice clean board. I guess I should have used solvent on the chair board before I began soldering on it. As I said, I have gotten better over the last few days. Watching the videos helped me chose a proper temperature setting for what I was doing and showed me what tips to use for which job. Also learned the importance of limiting the amount of eat to use.